How to Scan from Printer to Computer

Understanding Scanning Basics
Scanning is the process of converting physical documents into digital files. This is accomplished using a scanner, which captures the document’s details and saves it in a digital format. The primary formats for scanned documents include PDF and JPEG. Knowing how to scan from a printer to a computer can save you time and improve organization.
Types of Scanners
Before you start scanning, it’s essential to understand the different types of scanners available:
Flatbed Scanners: These are the most common type. You place the document on a glass surface, and the scanner moves beneath it to capture the image.
Sheet-fed Scanners: These scanners automatically feed multiple pages, making them ideal for high-volume tasks.
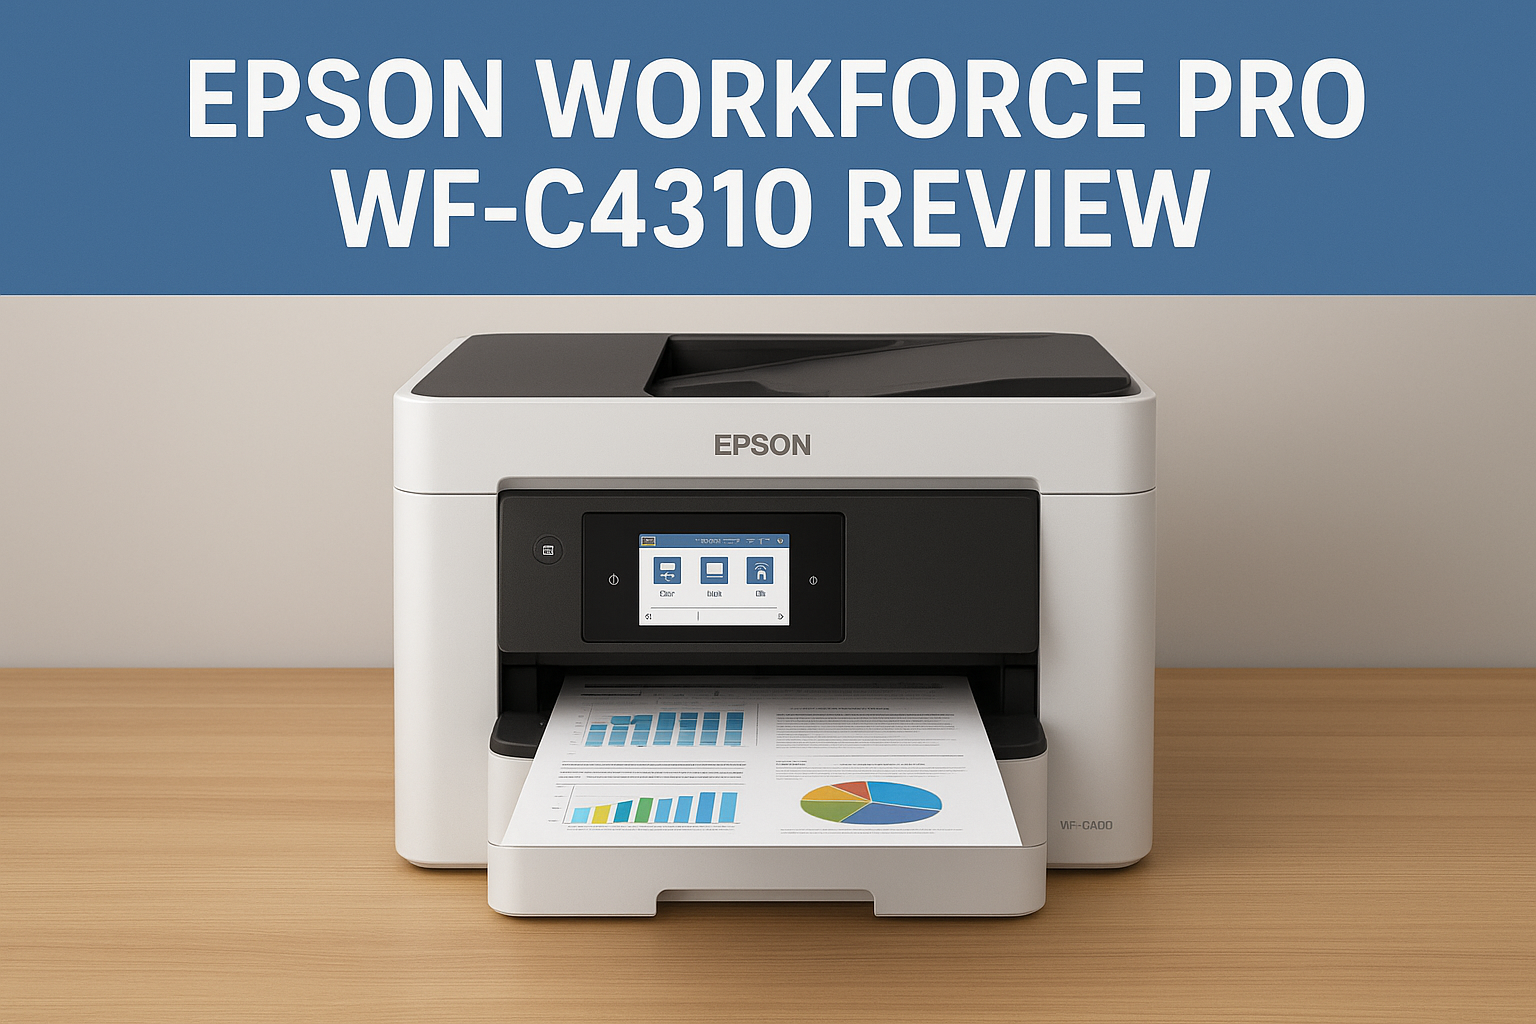
All-in-One Printers: These multifunctional devices can print, scan, copy, and fax. Most home and office printers today fall into this category.
Portable Scanners: Compact and lightweight, these are great for scanning on the go.
Knowing your scanner type will help you understand how to use it effectively for scanning documents.
Preparing Your Printer and Computer
Before you begin scanning, follow these steps to ensure everything is ready:
Check Connectivity: Ensure your printer is connected to your computer via USB or Wi-Fi. If using a network printer, ensure your computer is connected to the same network.
Install Software: Most printers come with software that you need to install on your computer. This software often includes drivers necessary for the printer to communicate with your computer. Visit the manufacturer's website if you need the latest version.
Update Drivers: Keep your printer drivers updated to avoid compatibility issues. This is crucial for smooth operation.
Prepare Your Document: Place the document you wish to scan face down on the scanner bed or in the feeder tray.
How to Scan from Printer to Computer
Now that your printer and computer are ready, let's explore the methods for scanning from a printer to a computer.
Using the Scanner’s Control Panel
Most modern printers have a built-in control panel that allows you to scan directly to your computer. Here’s how:
Power On the Printer: Turn on your printer and ensure it's ready.
Select Scan Option: Use the printer’s control panel to select the Scan option. You might see choices like "Scan to PC" or "Scan to Email."
Choose Destination: If prompted, choose your computer as the destination.
Select File Type: Depending on your printer, you may need to select a file type (e.g., PDF or JPEG).
Start Scanning: Press the Start or Scan button on the printer. The scanner will begin capturing the document.
Save the Document: Once the scan is complete, you may need to specify a location on your computer to save the file.
Using Computer Software
If your printer doesn’t have a control panel or you prefer using your computer, follow these steps:
Open Scanning Software: On your computer, open the software installed for your printer. This is often found in the Start Menu or as a desktop shortcut.
Select Scan Option: Look for an option labeled Scan or Scan Document within the software.
Configure Settings: Adjust settings such as resolution, color, and file format. Higher resolution is better for text, while lower resolution is sufficient for images.
Preview the Scan: Most software allows you to preview the scan. This lets you ensure everything looks correct before the final scan.
Start Scanning: Click the Scan button. The software will communicate with your printer to start the scanning process.
Save the File: After scanning, choose where to save the file on your computer. You can also rename the file for easier identification.
Using Mobile Apps
Many manufacturers offer mobile apps that allow you to scan documents using your smartphone or tablet. Here’s how to use them:
Download the App: Install the printer’s mobile app from the App Store (iOS) or Google Play Store (Android).
Connect to the Printer: Open the app and connect it to your printer. Make sure your mobile device is connected to the same Wi-Fi network as your printer.
Select Scan: In the app, find the option for Scan.
Position the Document: Follow the app’s instructions to position the document. The app may use your device’s camera to capture the scan.
Adjust Settings: Modify any scanning settings as needed.
Scan and Save: Tap the scan button, and once complete, save the file to your device or send it directly to your computer.
Common Issues and Troubleshooting
While scanning should be straightforward, you may encounter some issues. Here are common problems and their solutions:
Printer Not Recognized:
- Ensure the printer is powered on and connected to the network.
- Restart both the printer and computer.
- Update the printer drivers.
Scan Quality Issues:
- Adjust the resolution settings in your scanning software.
- Make sure the document is clean and properly aligned on the scanner.
Software Not Responding:
- Close and reopen the scanning software.
- Ensure your operating system is up to date.
Scanner Offline:
- Check the printer’s network connection.
- Restart the printer and check settings.
- By following these troubleshooting tips, you can resolve most issues that arise during scanning.
Benefits of Scanning Documents
Understanding the benefits of scanning documents can motivate you to adopt this practice:
Organization: Scanned documents can be easily organized on your computer, eliminating the need for physical storage.
Accessibility: Digital files can be accessed from anywhere, allowing for better collaboration and remote work.
Space-Saving: Scanning reduces the physical clutter of paper documents, freeing up valuable space in your home or office.
Security: Digital files can be backed up and encrypted, providing better security than paper documents, which can be lost or damaged.
Searchability: Scanned documents, especially when converted to PDF, can be indexed and searched for quick retrieval of information.
Environmentally Friendly: Reducing paper use by scanning documents contributes to environmental conservation.
Conclusion
Knowing how to scan from a printer to a computer is an essential skill in today’s digital world. Whether you’re managing important business documents or organizing personal files, scanning can streamline your processes. By following the steps outlined in this guide, you can easily convert your physical documents into digital files, ensuring better organization and accessibility.
