Exclusive Products

- Home
/hologram-orbiter-arduino-diy-print-it-yourself-digital-download

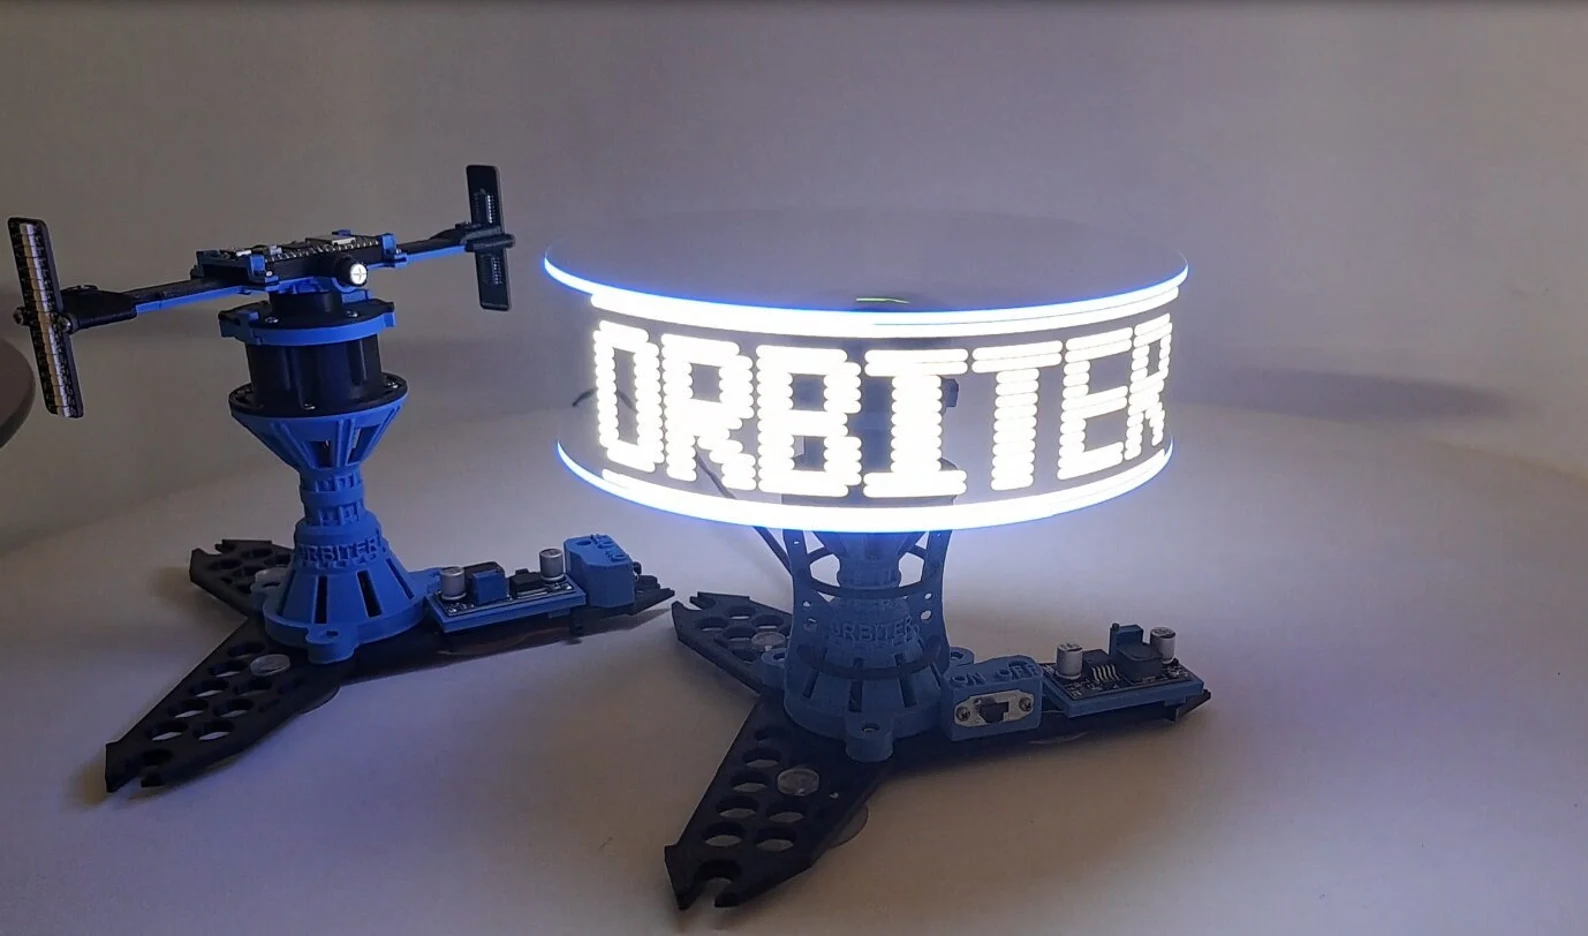
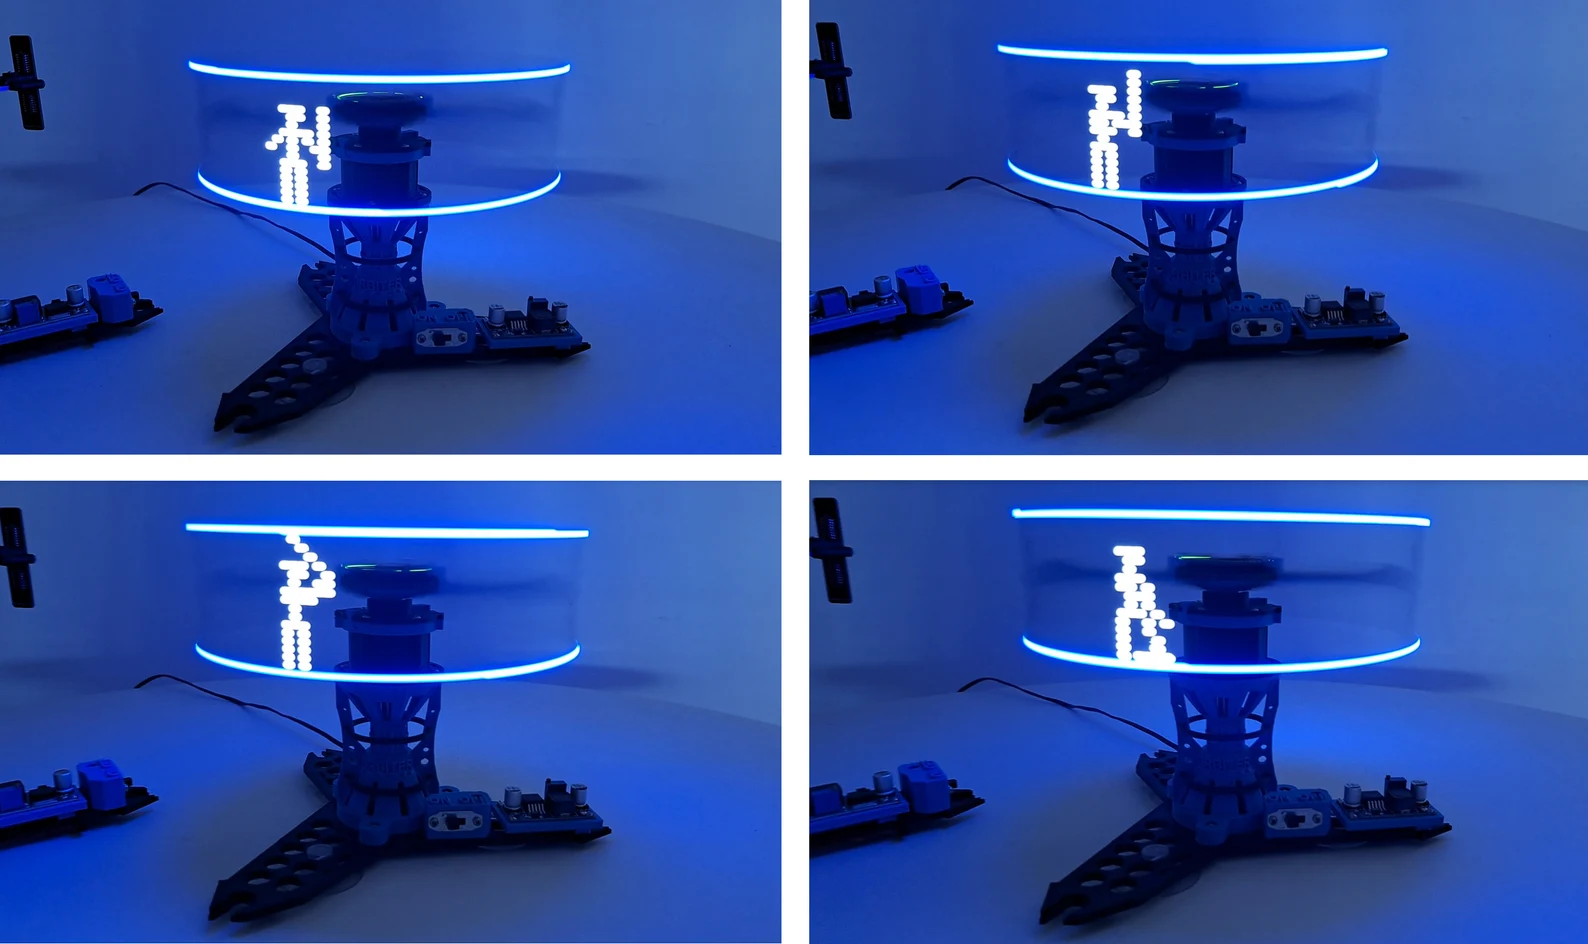
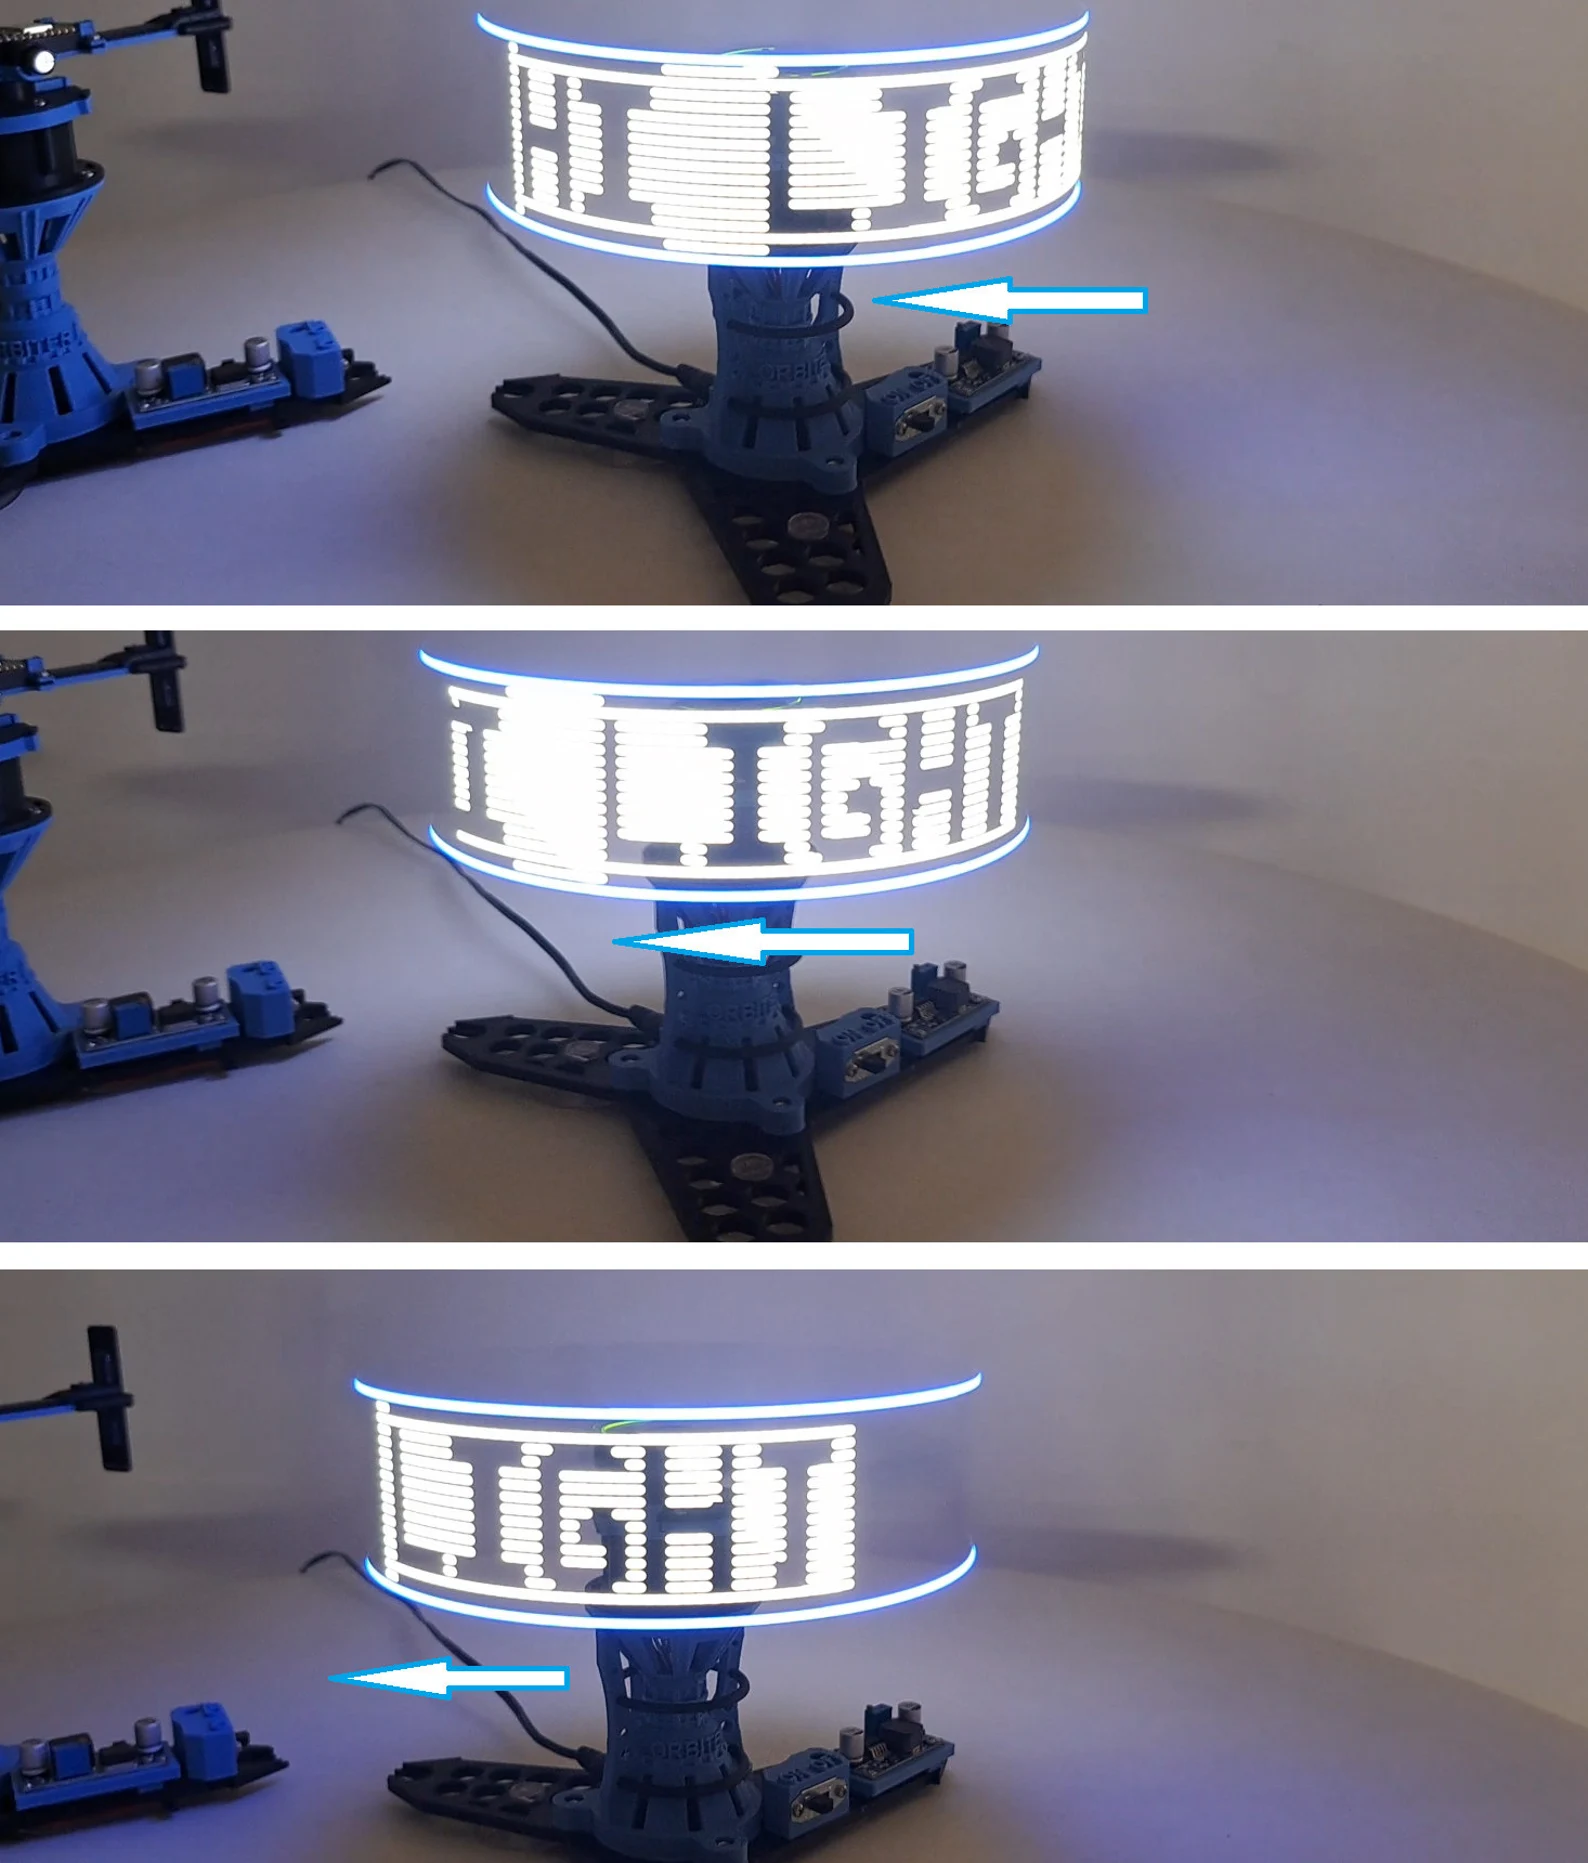
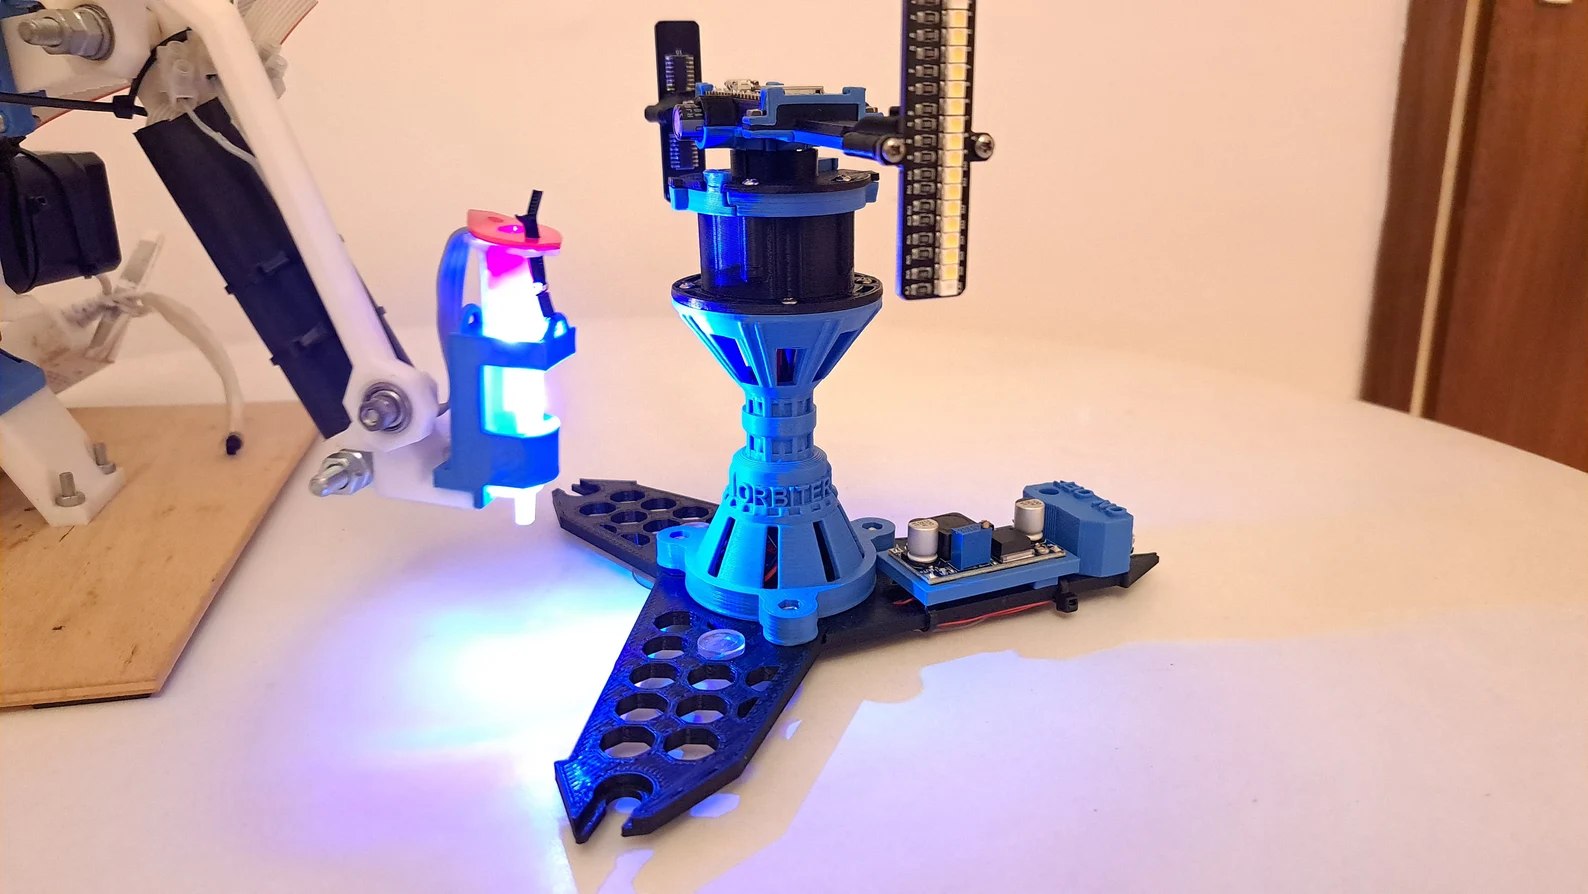
Hologram Orbiter - Arduino DIY - print it yourself - digital download
$38


20 Days Replacement

Free Delivery

1 Year Warranty
Specifications
Warranty
1 Year
Sign up for our newsletter
...and receive regular coupon updates
 contact@fazter.com
Got questions? Call us 24/7!
(727) 330-20541329 Lotus Path, Clearwater, FL 33756
United States
United States


© 2025 Fazter Store. All Rights Reserved.